添加新用户
groupadd zabbix

useradd -g zabbix zabbix

usermod -s /sbin/nologin zabbix
- 安装lamp环境
# yum install php php-gd php-mysql php-bcmath php-mbstring php-xml curl curl-devel net-snmp   net-snmp-devel perl-DBI

# yum install httpd mariadb*- 配置数据库
启动数据库:systemctl start mariadb
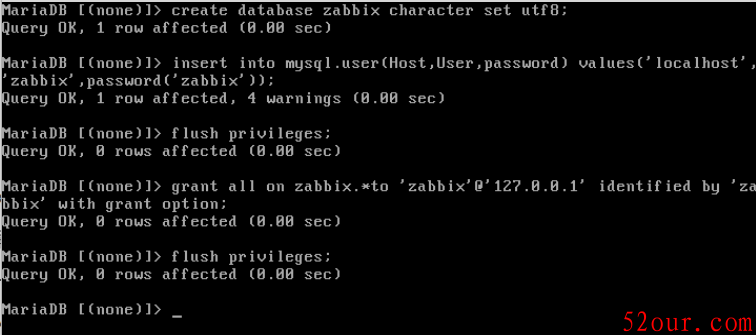
MariaDB [(none)]> create database zabbix character set utf8;   ##创建数据库zabbix,并且数据库编码使用utf8
 MariaDB [(none)]> insert into mysql.user(Host,User,Password) values('localhost','zabbix',password('zabbix')); ##新建账户zabbix,密码zabbix
 MariaDB [(none)]>  flush privileges;      ##刷新系统授权
 MariaDB [(none)]> grant all on zabbix.* to 'zabbix'@'127.0.0.1' identified by 'zabbix' with grant option;    ##允许账户能从本机连接至数据库zabbix
 MariaDB [(none)]>  flush privileges;
- 安装和配置zabbix
下载:
wget http://jaist.dl.sourceforge.net/project/zabbix/ZABBIX%20Latest%20Stable/2.4.7/zabbix-2.4.7.tar.gz
编译:
# ./configure --with-mysql=/usr/bin/mysql_config --with-net-snmp --with-libcurl --enable-server --enable-agent --enable-proxy --prefix=/usr/local/zabbix小插曲:由于是centos最小化安装,所以出现错误及解决方法
1):

缺少GCC软件套件yum install gcc
2):


yum install net-snmp-devel curl-devel3):configure: error: MySQL library not found错误,是因为缺少mariadb-devel该软件,由于我并没有遇到,所以没有截图
#make
#make install
按顺序导入数据库:
 # mysql -u root -p

  MariaDB [(none)]> use zabbix;

  MariaDB [zabbix]> source /root/zabbix-2.4.5/database/mysql/schema.sql

  MariaDB [zabbix]> source /root/zabbix-2.4.5/database/mysql/data.sql

  MariaDB [zabbix]> source /root/zabbix-2.4.5/database/mysql/images.sql

  MariaDB [zabbix]> quit
添加服务器对应端口(可省略)
[root@localhost ~]# cat /etc/services |grep zabbix

zabbix-agent    10050/tcp               # Zabbix Agent      //客户端

zabbix-agent    10050/udp               # Zabbix Agent

zabbix-trapper  10051/tcp               # Zabbix Trapper    //服务端

zabbix-trapper  10051/udp               # Zabbix Trapper
拷贝相关配置到/etc下进行配置
# mkdir -p /etc/zabbix

# cp -r zabbix-2.4.7/conf/* /etc/zabbix/

# chown -R zabbix:zabbix /etc/zabbix

#ln -s /usr/local/zabbix/etc /etc/zabbix/

# ln -s /usr/local/zabbix/bin/* /usr/bin/

# ln -s /usr/local/zabbix/sbin/* /usr/sbin/
修改zabbix_server.conf
LogFile=/tmp/zabbix_server.log   ##日志文件地址

DBHost=localhost     ##数据库主机

DBName=zabbix       ##数据库名

DBUser=zabbix          ##数据库用户名

DBPassword=zabbix    ##数据库密码

ListenIP=127.0.0.1      ##数据库IP地址

AlertScriptsPath=/usr/local/zabbix/share/zabbix/alertscripts    ##zabbix运行脚本存放目录
修改zabbix_agentd.conf
PidFile=/tmp/zabbix_agentd.pid            ##进程PID

LogFile=/tmp/zabbix_agentd.log            ##日志保存位置

EnableRemoteCommands=1                 ##允许执行远程命令

Server=127.0.0.1                   ##agent端的ip

ServerActive=127.0.0.1

Hostname=Zabbix server          ##必须与zabbix创建的hostname相同

Include=/usr/local/etc/zabbix_agentd.conf.d/

UnsafeUserParameters=1            ##启动自定义key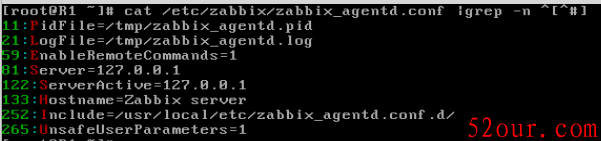
- 修改php参数
```
max_execution_time = 300
max_input_time = 300
memory_limit = 128M
upload_max_filesize = 2M
date.timezone = Asia/Shanghai
post_max_size = 28M
5. 配置web站点

 1):
cd zabbix-2.4.5/
cp -r frontends/php /var/www/html/zabbix
2):修改httpd.conf参数vi /etc/httpd/conf/httpd.conf
<IfModule dir_module>
   DirectoryIndex index.html index.php

</IfModule>
3):关闭selinux

a:临时关闭#setenforce 0

b:修改配置关闭,需要重启
vi /etc/selinux/config
将SELINUX=enforcing 改为SELINUX=disabled
```
6.安装web界面
启动httpd(#systemctl start httpd)
浏览器输入:ip/zabbix
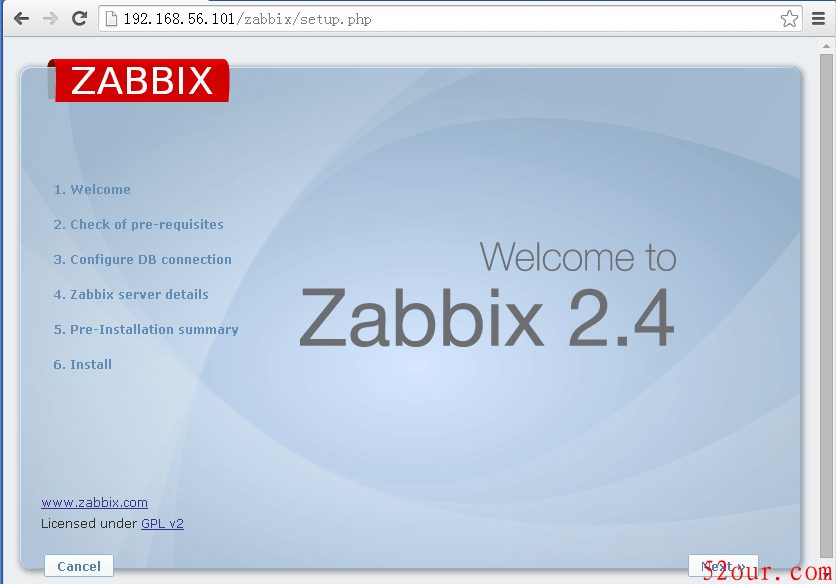
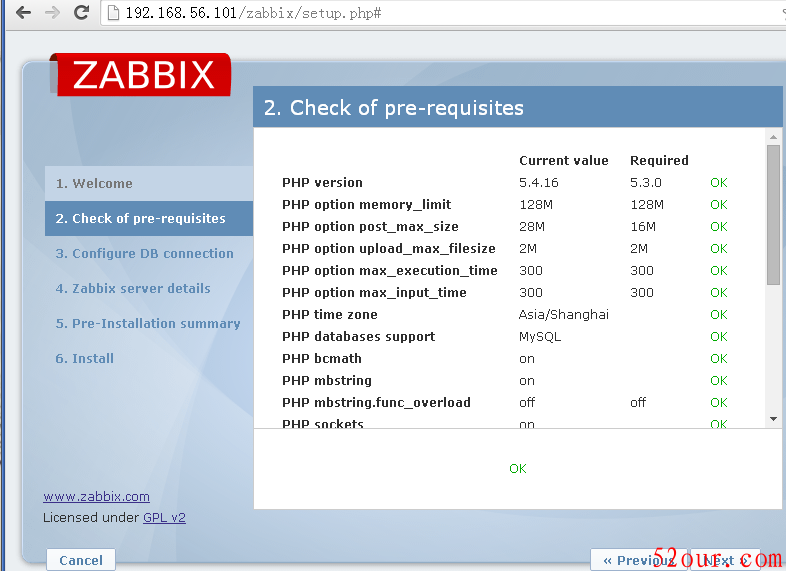
全是ok后next
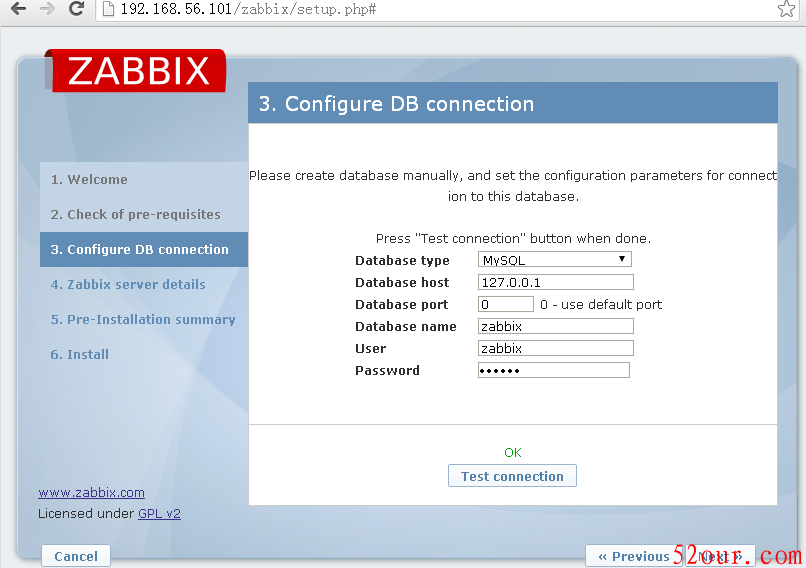
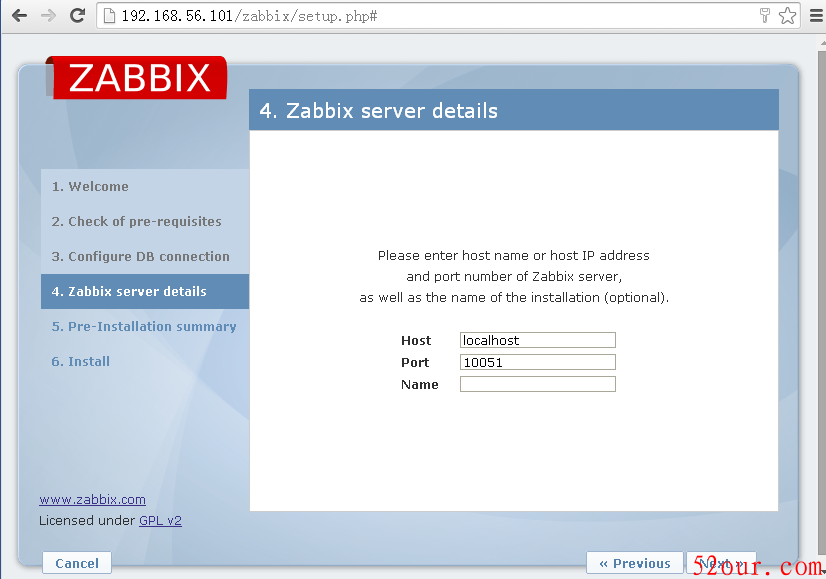
默认,next
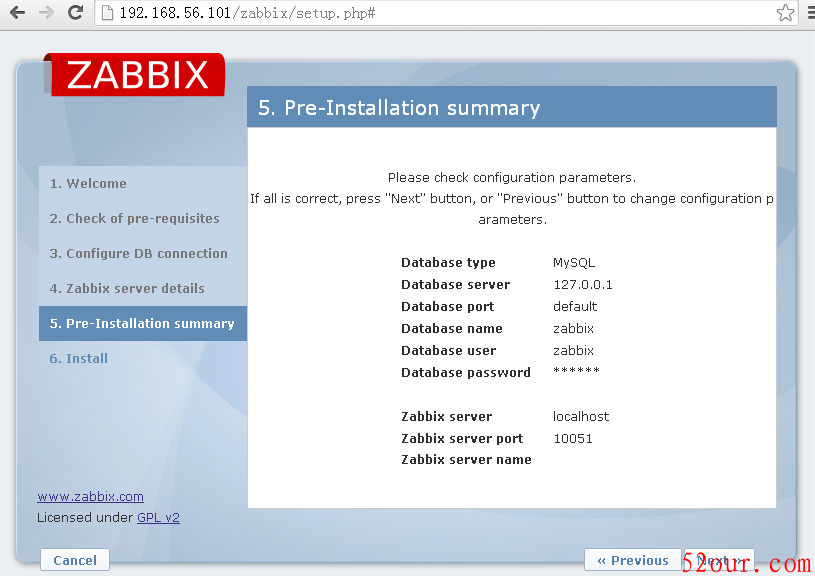
next出现错误
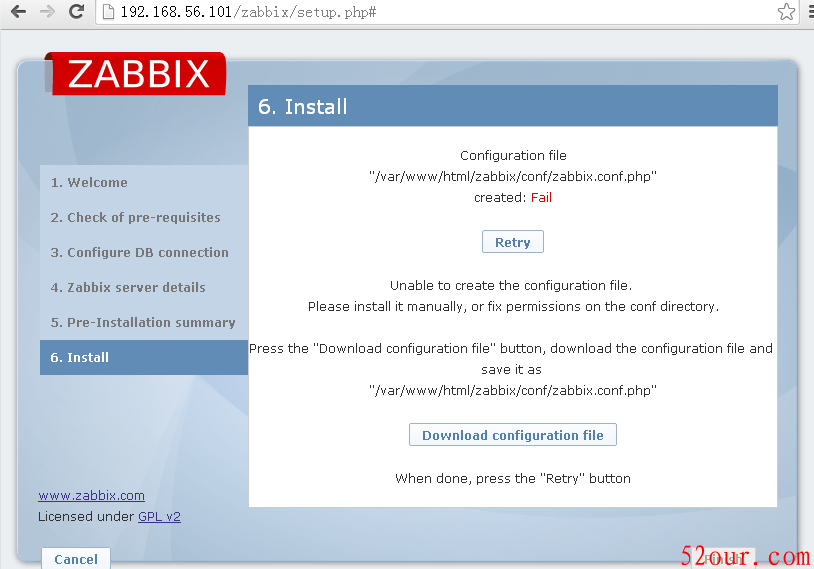
点击Download configuration file,把下载好的zabbix.conf.php文件放到/var/www/html/zabbix/conf/下,点击“Retry”按钮重试通过后点击‘finish’完成安装
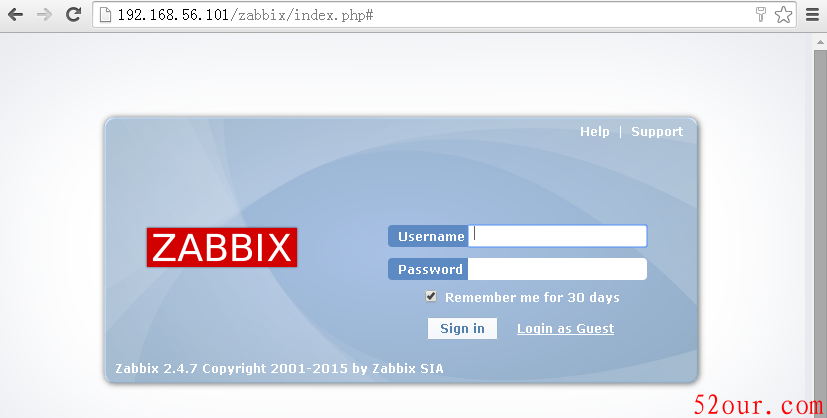
Zabbix的默认账号为admin,密码为zabbix